Spring sport season is here…and that means life will be busy! My oldest daughter plays catcher for our high school softball team. My middle daughter joined the crew team this year, while my youngest one is playing spring soccer and youth league softball. Did I mention how busy life will be? Practices, games, regattas, tournaments…memories in the making.
With all these activities, my girls will be hungry. One of their favorite snacks are these no-bake granola bars! They are so yummy…we don’t even purchase store-bought granola bars anymore.
Before I share the directions to make these granola bars, I need to tell you how I acquired the recipe. About five years ago, my middle daughter came home from school raving about these granola bars that her friend brought in her lunch. This went on for days with the promise that I would call her mother and find out the recipe. Well, I forgot and a few weeks passed. Then she came home from school with a crumbled mixture of “something” in a small ziplock bag. She thought if I tasted it, I might be able to figure out the ingredients on my own. Needless to say, I called her friend’s mother that afternoon and I’ve been making these yummy granola bars ever since!
Now the recipe! You will need the following…
3 cups rice krispy cereal
2 1/4 cups quick cooking oats
1/2 cup sliced almonds
2/3 cup semi-sweet mini chocolate chips
1/2 cup agave nectar
1/4 cup light brown sugar (firmly packed)
1 cup peanut butter
1 1/2 tsp vanilla
1 tsp salt
Combine the cereal, oats and almonds in a large bowl. Set aside.
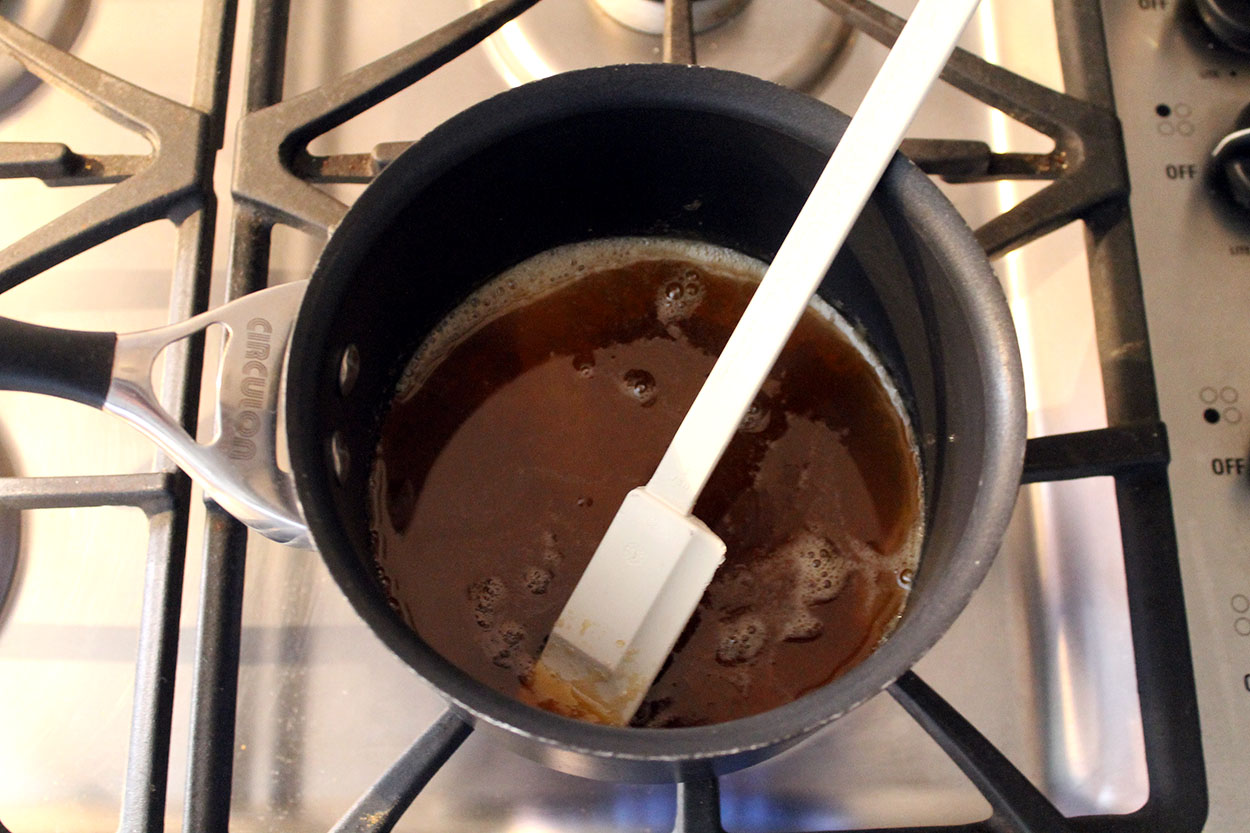
In a small saucepan, bring the agave nectar and the brown sugar to just a boil over medium heat.
Mix throughly.
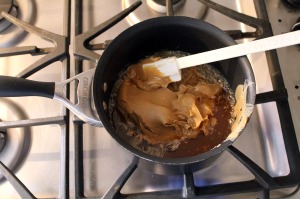
Stir in the peanut butter, salt, and vanilla until all ingredients are combined.
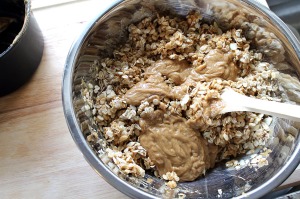
Remove from the heat and gently stir this gooey mixture into the cereal mixture until it is well incorporated.
Let it sit and cool for about 3 minutes. Stir in the chocolate chips.
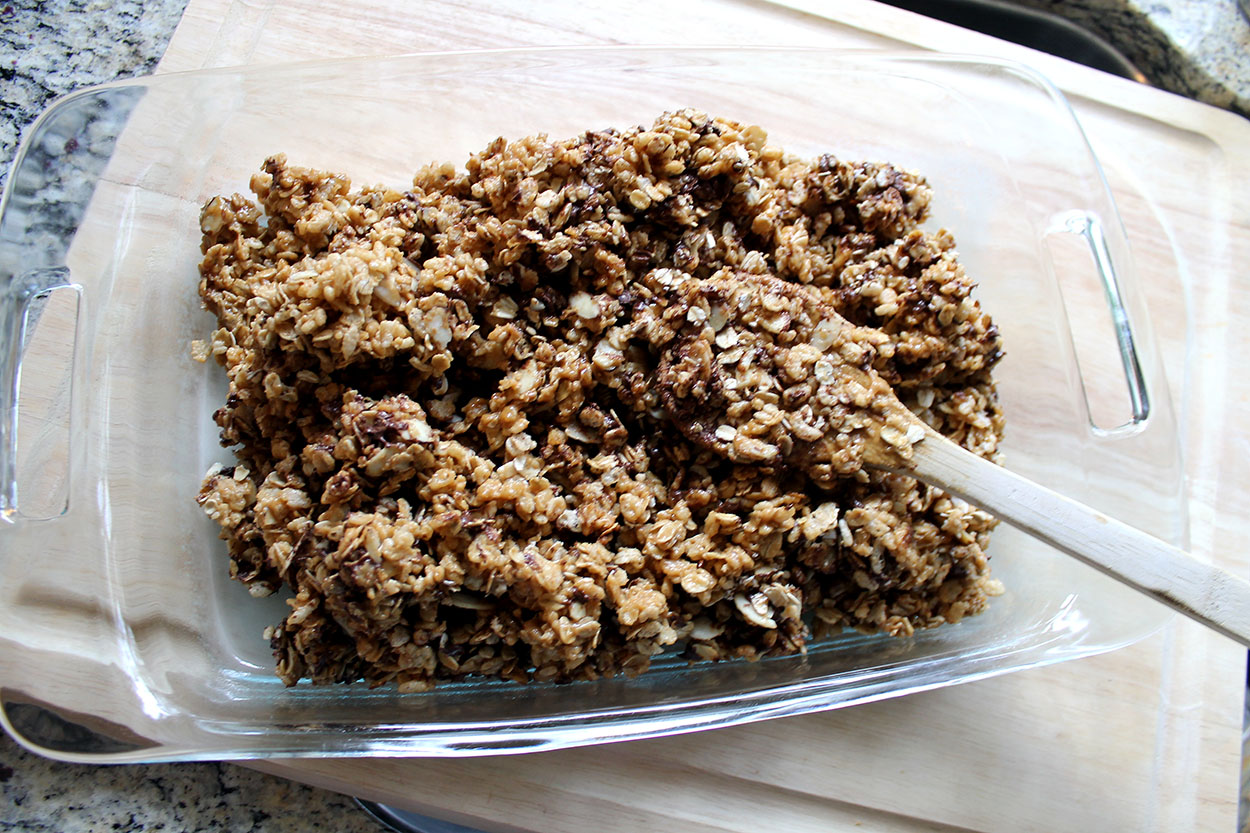
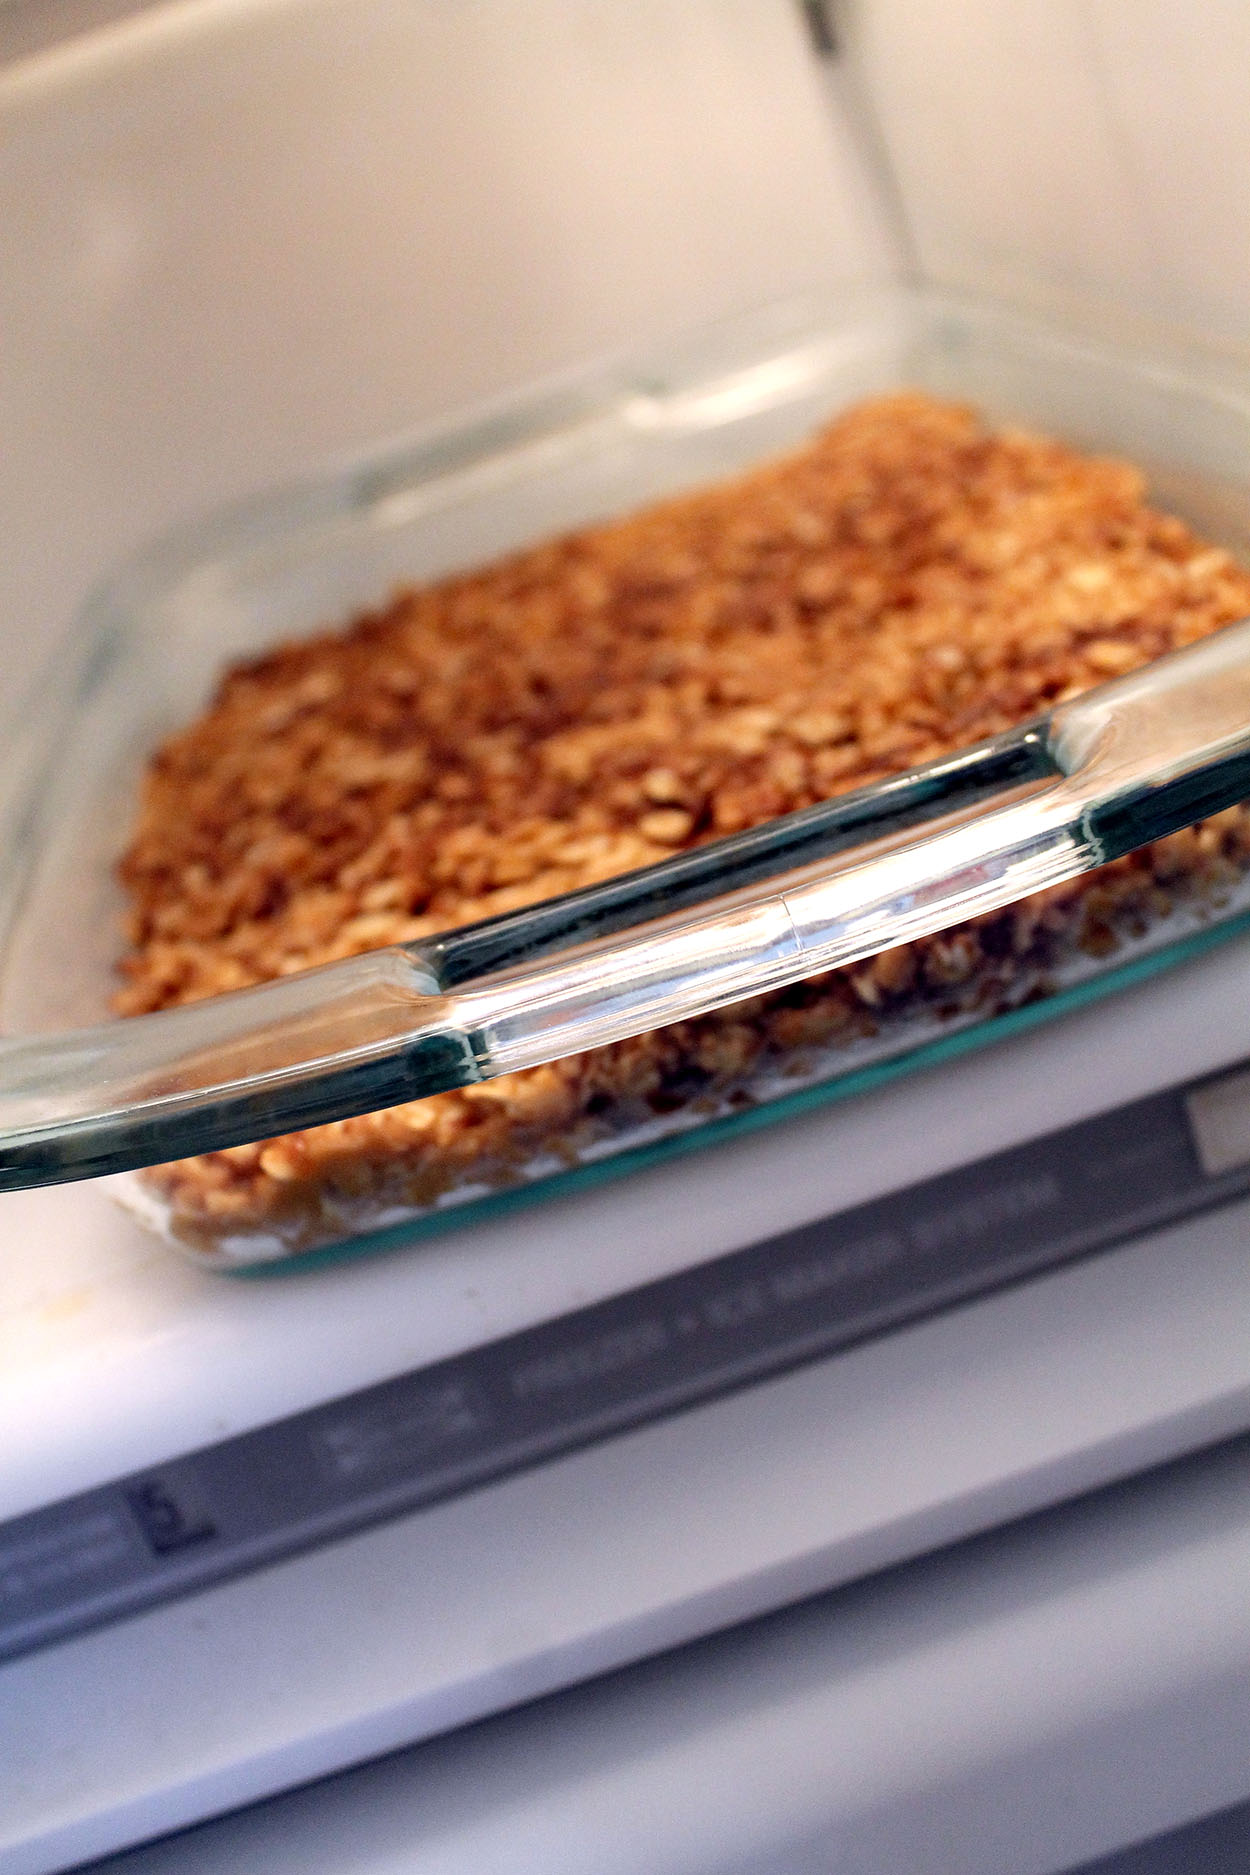
Pour the mixture into a greased 9×13 baking dish. Then press the mixture down firmly with the end of a fork.
Put the baking dish in the freezer (yes, I said freezer) for 30-45 minutes.
Remove the baking dish from the freezer and cut into individual bars. You can get 12-16 bars out of a pan, depending on how large or small you cut them. I typically make a double batch at a time since I have all the ingredients out!
I wrap each bar in waxed paper and tie it with bakers twine.
I store the bars in a metal container in the freezer. They are kept frozen because they will crumble apart at room temperature. They are great “grab and go” snacks! Just allow 10 minutes to somewhat thaw before taking that first bite.
I have left out the chocolate chips when I didn’t have them in my pantry, and the bars tasted fine. The original recipe called for 1/2 cup shredded coconut to be mixed with the dry ingredients. I leave that out since one of my girls doesn’t particularly like coconut.
A great snack idea for my busy girls! I’m sure they will be grabbing these as they head off to practices and games…






Thanks for sharing. I’ll try it w/o the chocolate chips. Glad you mentioned it!
I have made these twice already! They are a huge hit with our family! Thank you for sharing!
I made these over the weekend & my girls requested I make them again tonight (it’s Monday!)
They are the best! I made two batches last week, and I’ll be making another to send back to college with Audrey.